How to Integrate Google Tag Manager with Next.js

Recently I worked on establishing a framework for the implementation of Google Tag Manager on an enterprise level project built with Next.js. The project replaces a legacy J2EE application.
A key difference between the new and current platform, which came as a complete surprise to the team that initiated the transition, was client-side navigation. When tracking page views the existing triggers/tag events didn’t work as expected. Clicking a link to navigate to another page would only fire a click event, not the event used for tracking a page view, window.onLoad.
Next.js is a hybrid of a Single Page Application (SPA) and a website which has a backend running on a server, it has the concept of routes and pages like a typical React site, however routes are handled automatically by adding pages and directories, there’s no need to install React Router.
The <Link /> component enables client-side navigation between pages. The behaviour at this point is that of an SPA, it’s a seamless way to navigate, and does not require a page load, but because window.onLoad does not fire the problem with tracking events occurs.
So how do you let GTM know you navigated to another page?
The key here is making use of next/router & React's useEffect hook, in order to let GTM know about a page view, I’ll cover how we do this later on, you can skip to it here.
Head's up
This guide is for Pages router, if you're looking for an App router example go here.
Set up GTM manually
To get up and running you’ll need to add the tag manager script to the <head> of each page, Google recommend adding it as high up in the DOM as possible.
- Create a GTM account: https://tagmanager.google.com
- GTM Quick Start: https://developers.google.com/tag-manager/quickstart
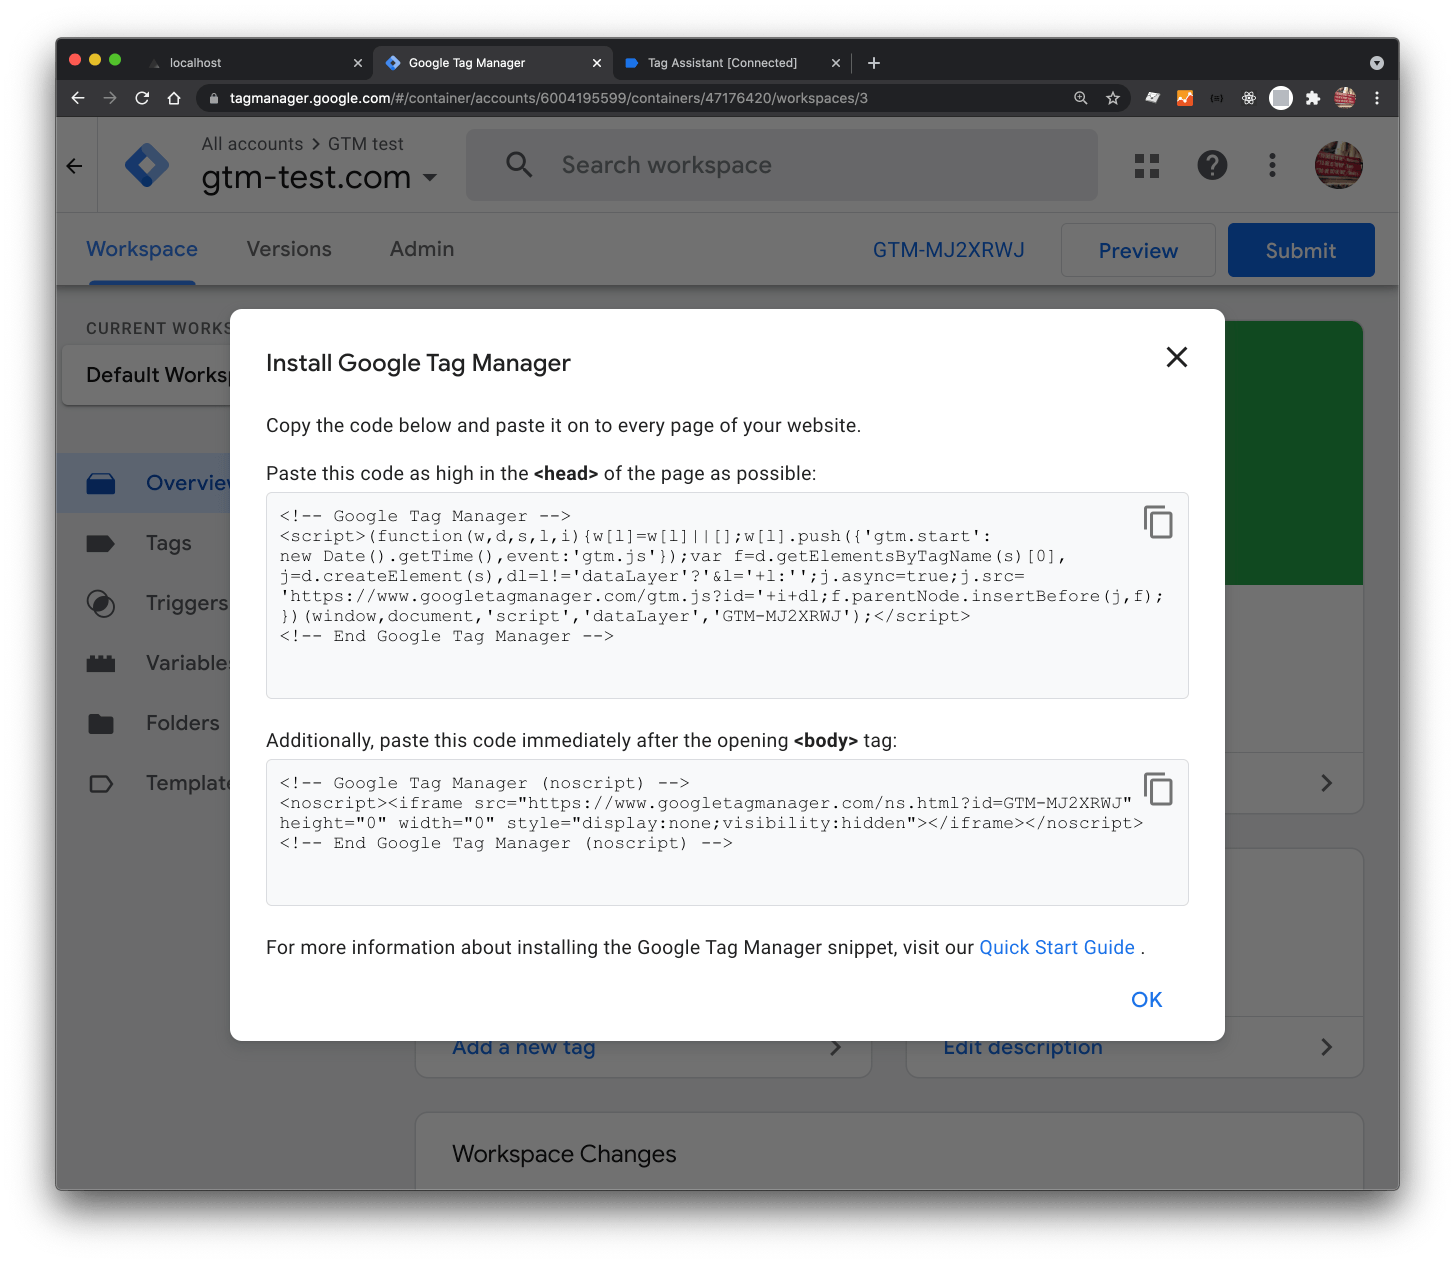
You’ll be given 2 code snippets, plus instructions, but essentially one goes in the <head>, the other goes after the opening <body> tag.
To setup GTM manually using the code provided by Google Tag Manager you'll need Next.js' <Script/> component.
This is handy for implementing 3rd party scripts that are only needed client side after a page becomes interactive.
In the following case you would add the following code to _app.tsx .
return (
  <>
    <Head>
      <title>Your title</title>
      <meta name="description" content="Your description" />
      <link rel="icon" href="/favicon.ico" />
    </Head>
    <Script id="gtm" strategy="afterInteractive">
      {`
        (function(w,d,s,l,i){w[l]=w[l]||[];w[l].push({'gtm.start':
        new Date().getTime(),event:'gtm.js'});var f=d.getElementsByTagName(s)[0],
        j=d.createElement(s),dl=l!='dataLayer'?'&l='+l:'';j.async=true;j.src=
        'https://www.googletagmanager.com/gtm.js?id='+i+dl;f.parentNode.insertBefore(j,f);
        })(window,document,'script','dataLayer','${GTM_ID}');
      `}
    </Script>
    <Component {...pageProps} />
  </>
);Then add the next block of code to _document.tsx
<body>
  <Main />
  <NextScript />
  <noscript
    dangerouslySetInnerHTML={{
      __html: `<iframe src="https://www.googletagmanager.com/ns.html?id=GTM-XXXX" height="0" width="0" style="display: none; visibility: hidden;" />`,
    }}
  />
</body>Once the scripts have been implemented you can start to add customisations.
If you're now ready to move on to tracking page views, feel free to jump ahead, there are two ways this can be done:
Either way will work, which you choose depends upon how granular you want to be, or how technical the analyst is.
Set up GTM with @next/third-parties
My preference is to use: @next/third-parties, let's go ahead and set it up.
To load GTM for all routes in your Next.js application, include the <GoogleTagManager /> component in _app.tsx, making sure to pass the required Container ID.
import { GoogleTagManager } from '@next/third-parties/google'

export default function App({ Component, pageProps }: AppProps) {
  return (
    <>
      <Component {...pageProps} />
      <GoogleTagManager gtmId={GTM_ID} />
    </>
  )
}
If you're now ready to track page views, which can be done in two ways.
Create a history event change trigger
After creating an account, navigate to the dashboard for the website—you'll have to specify a domain, I made up a domain for working locally with localhost—click on Triggers, then configure a trigger.
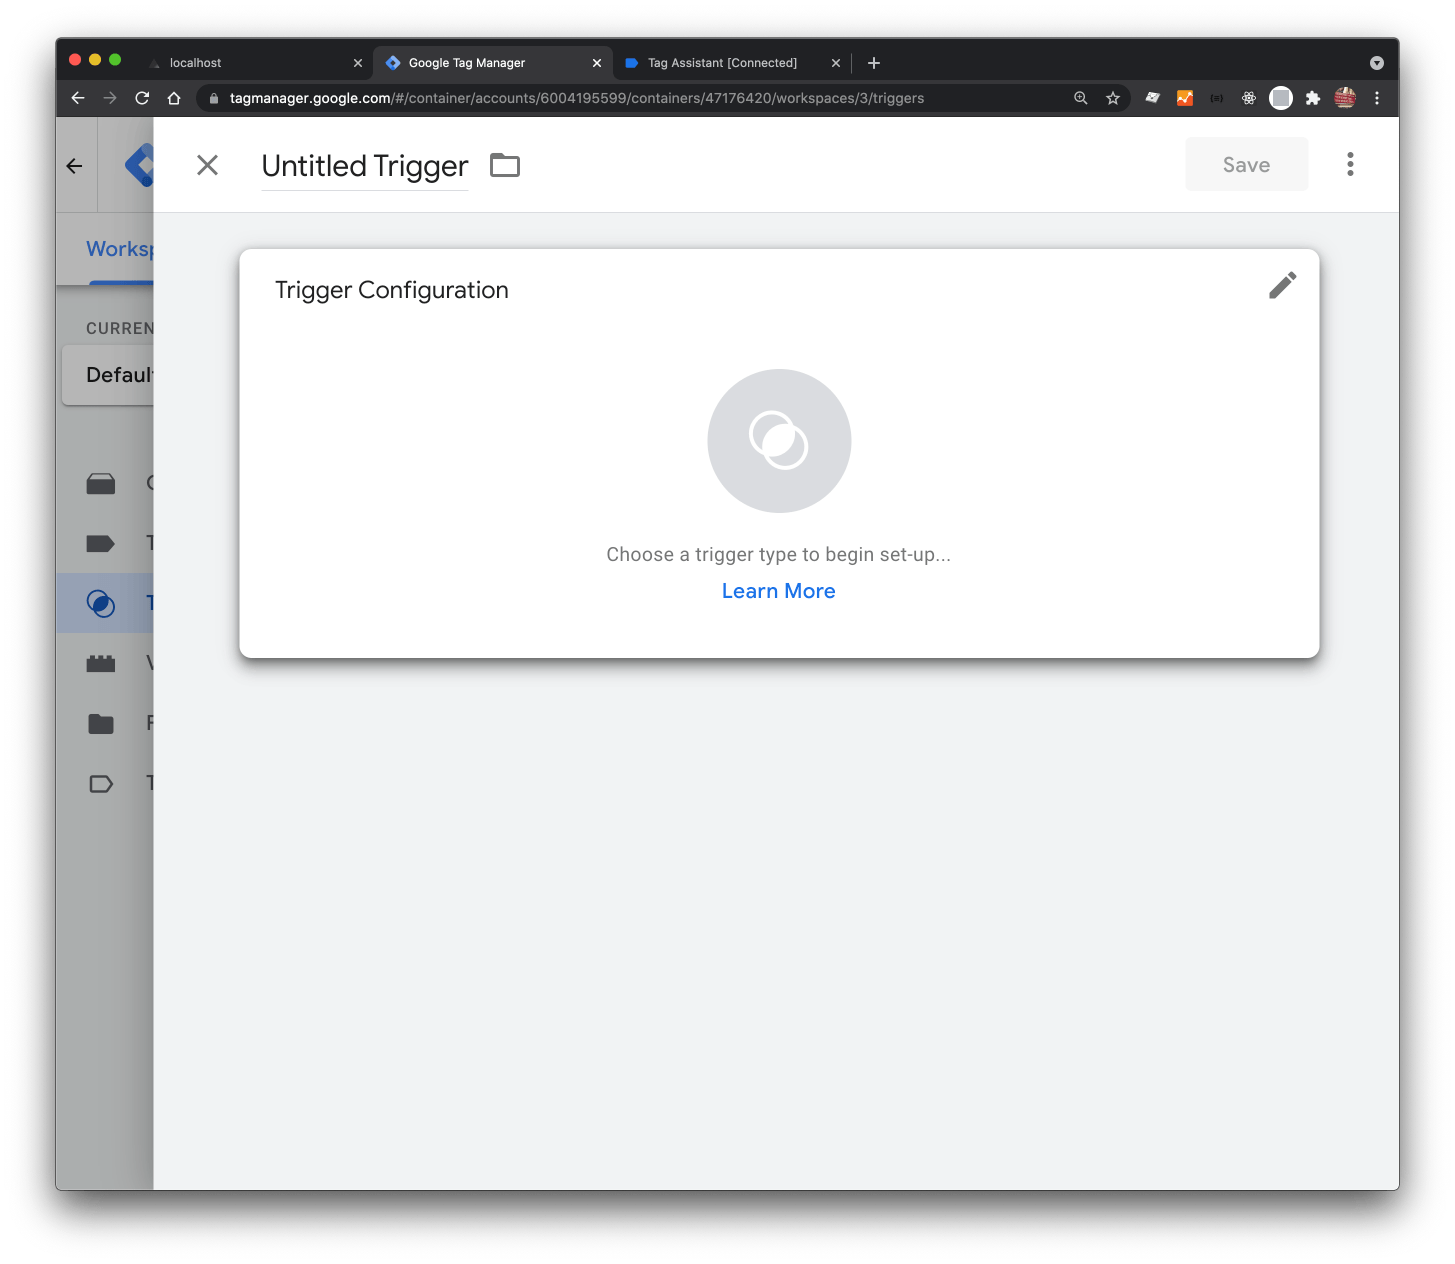
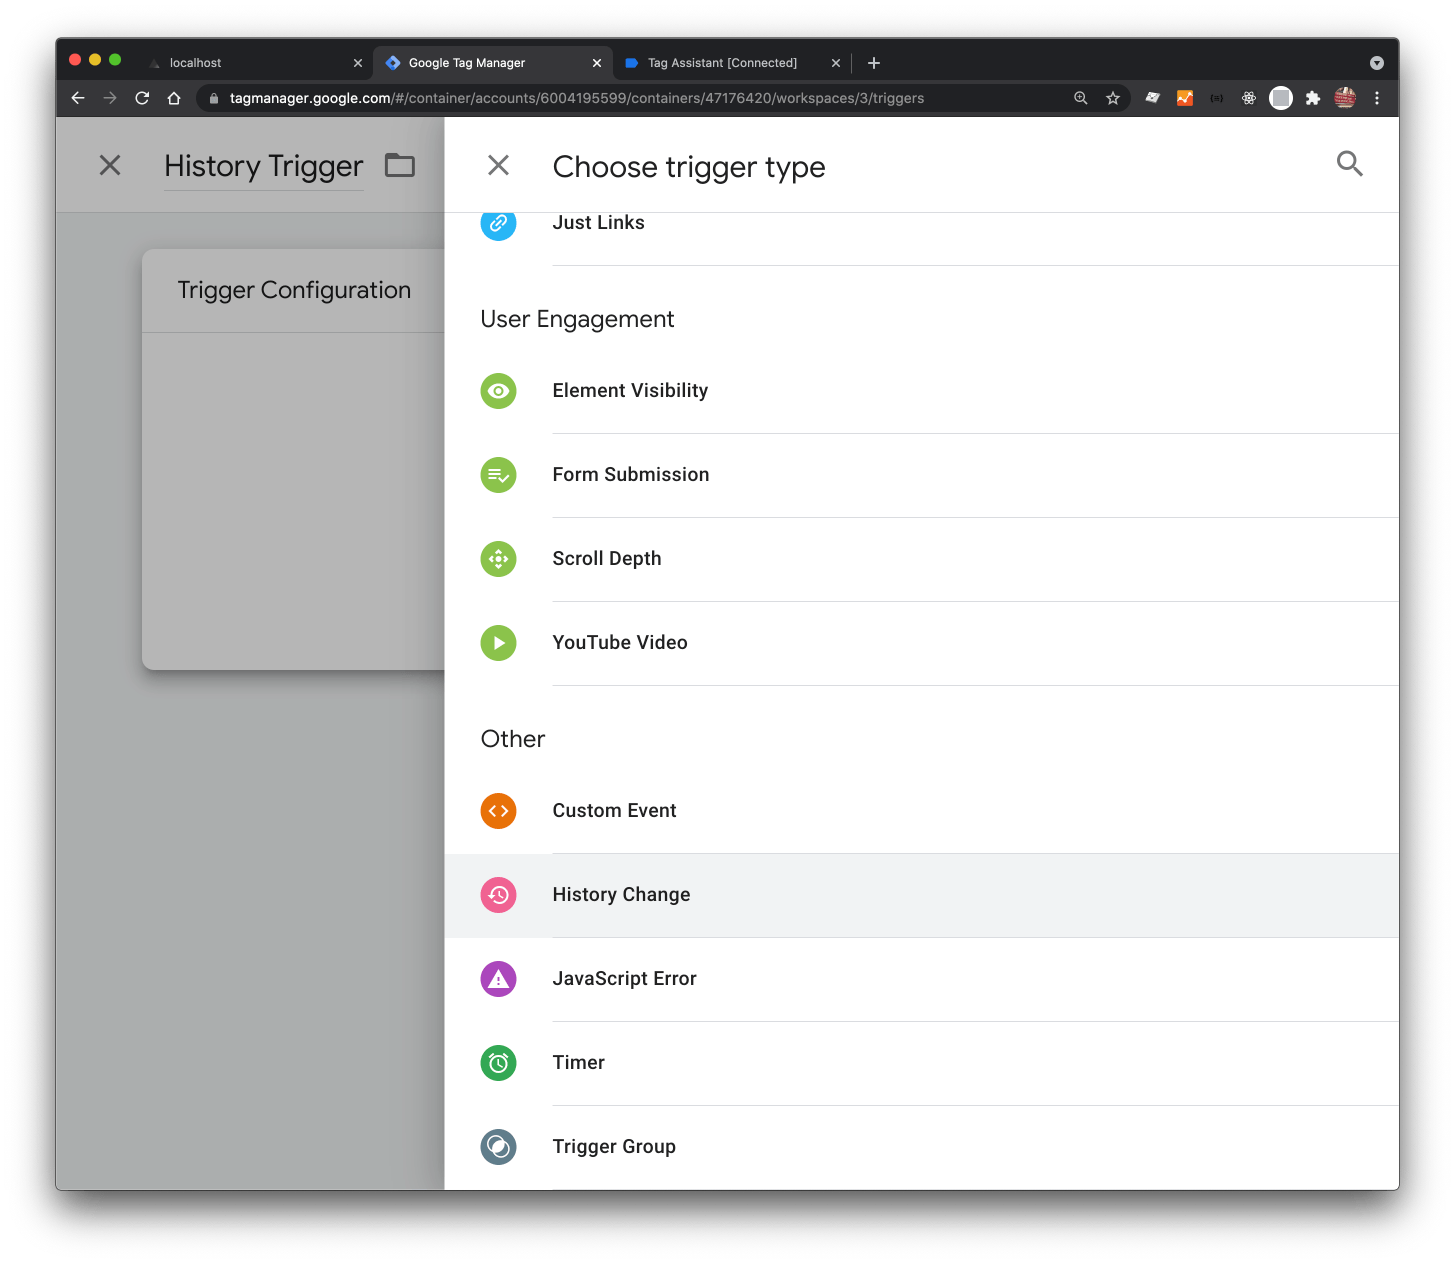
Choose a Trigger type.
Don't forget to hit save.
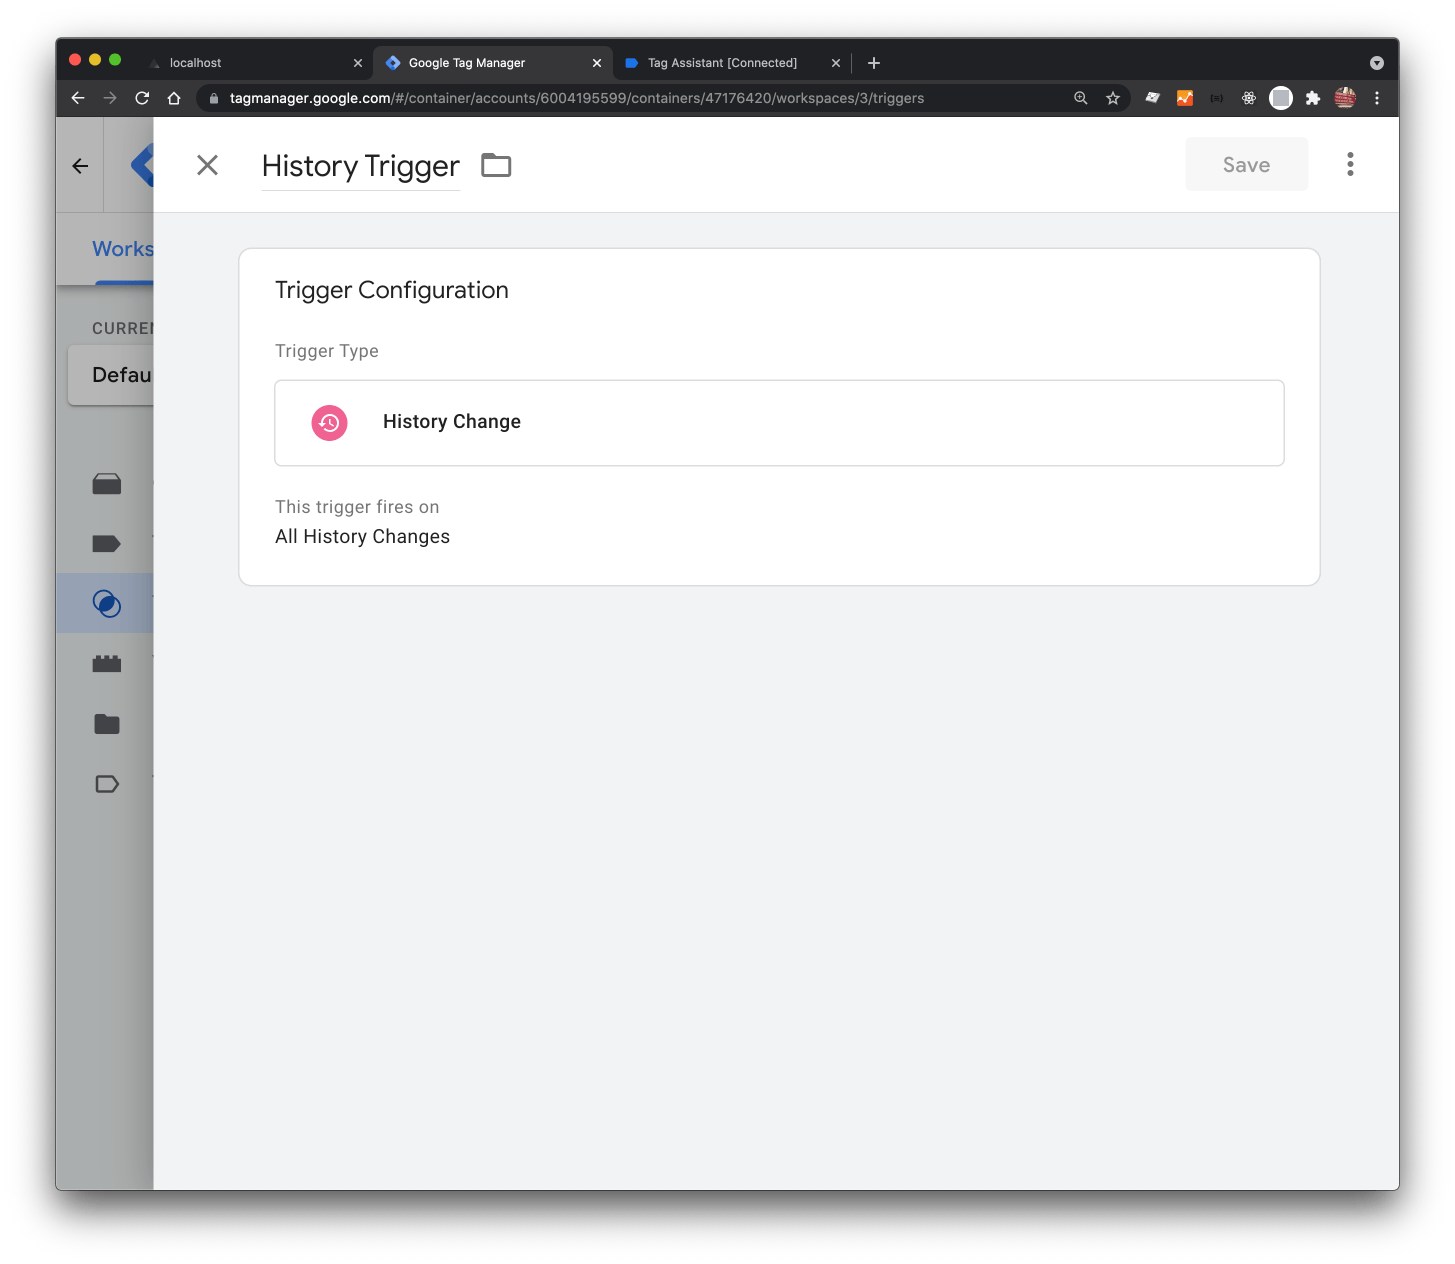
To see the history changes pushed into the dataLayer in the preview, submit the latest version, otherwise your changes won't be visible.
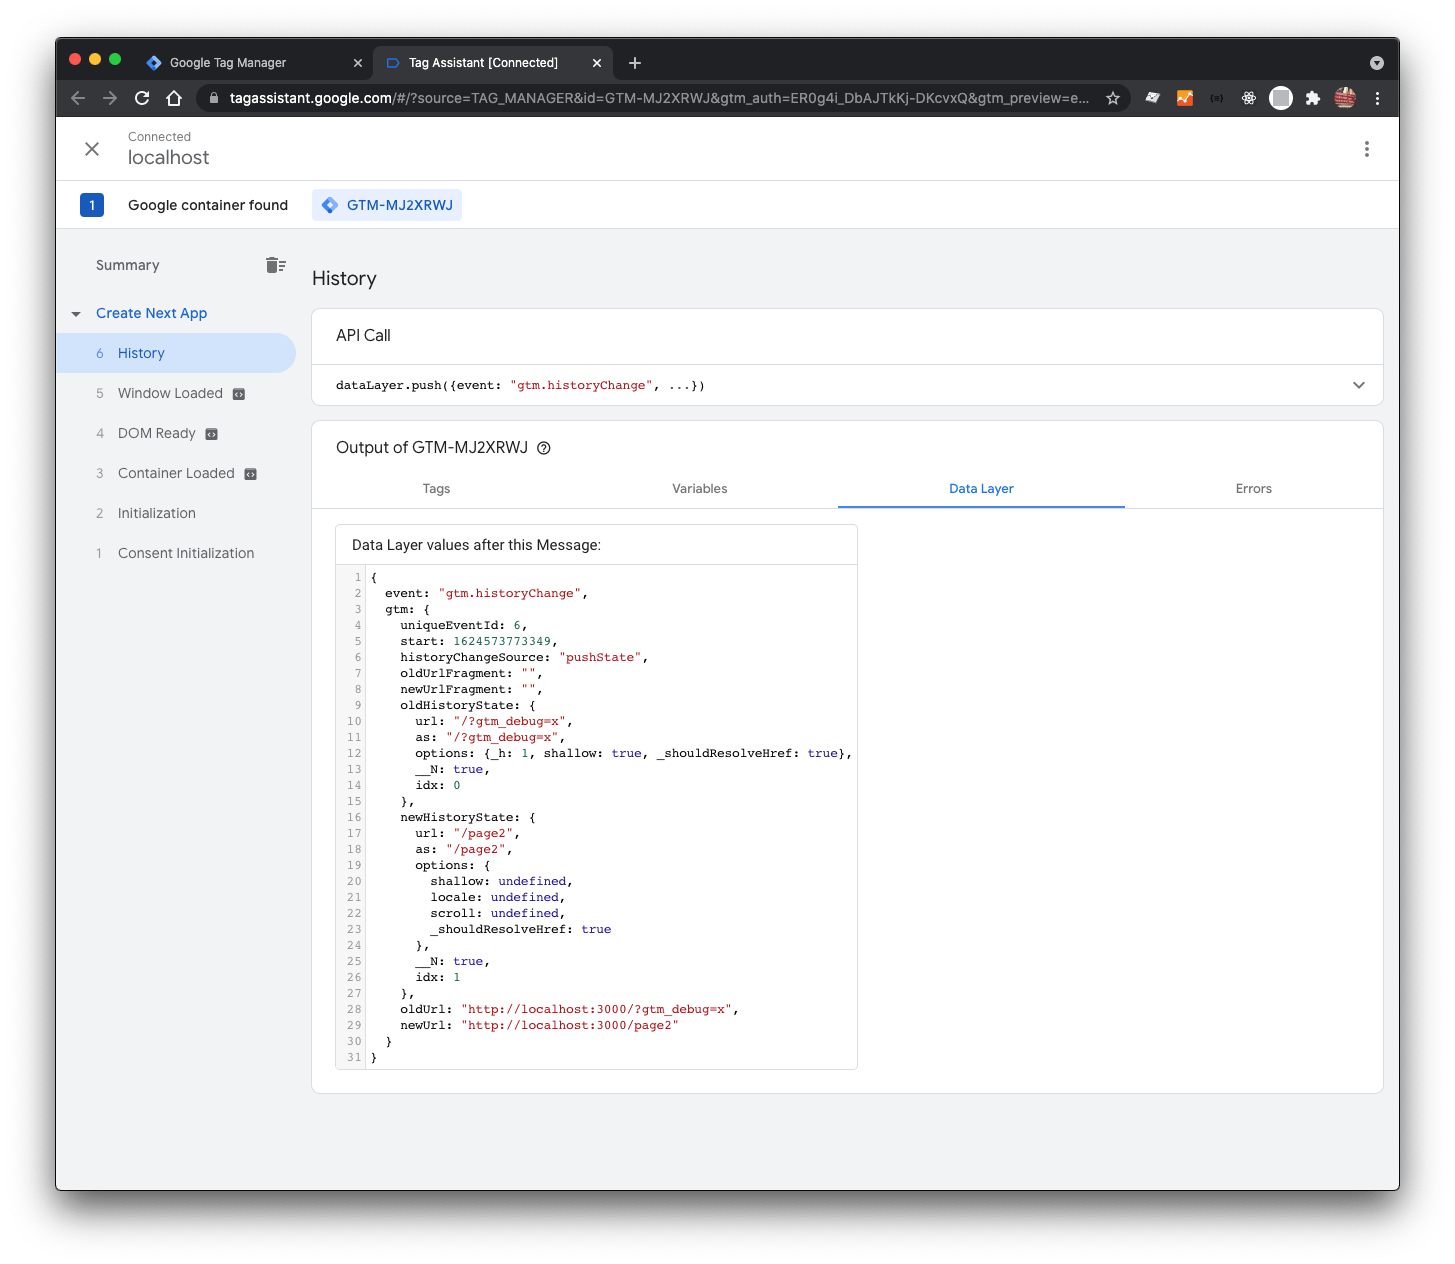
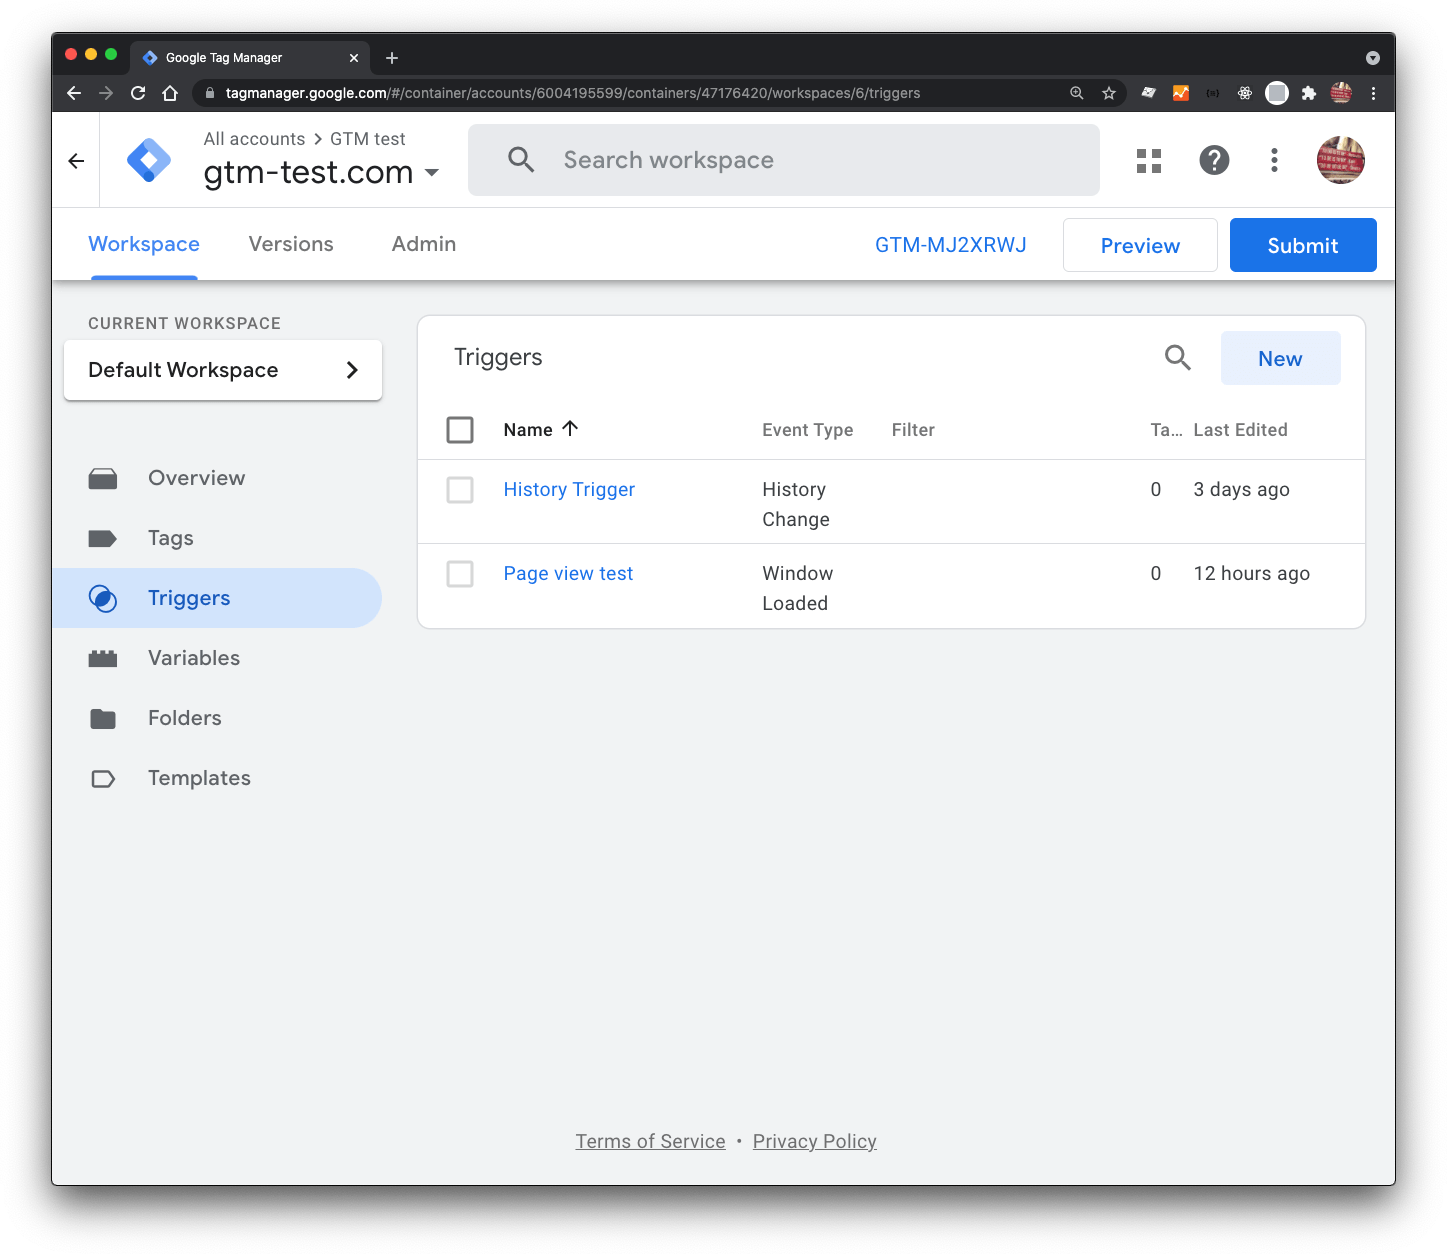
This configuration will enable you to go on to create tags if you'd like to share data with Google Analytics, this article provides more detail.
Track page view events
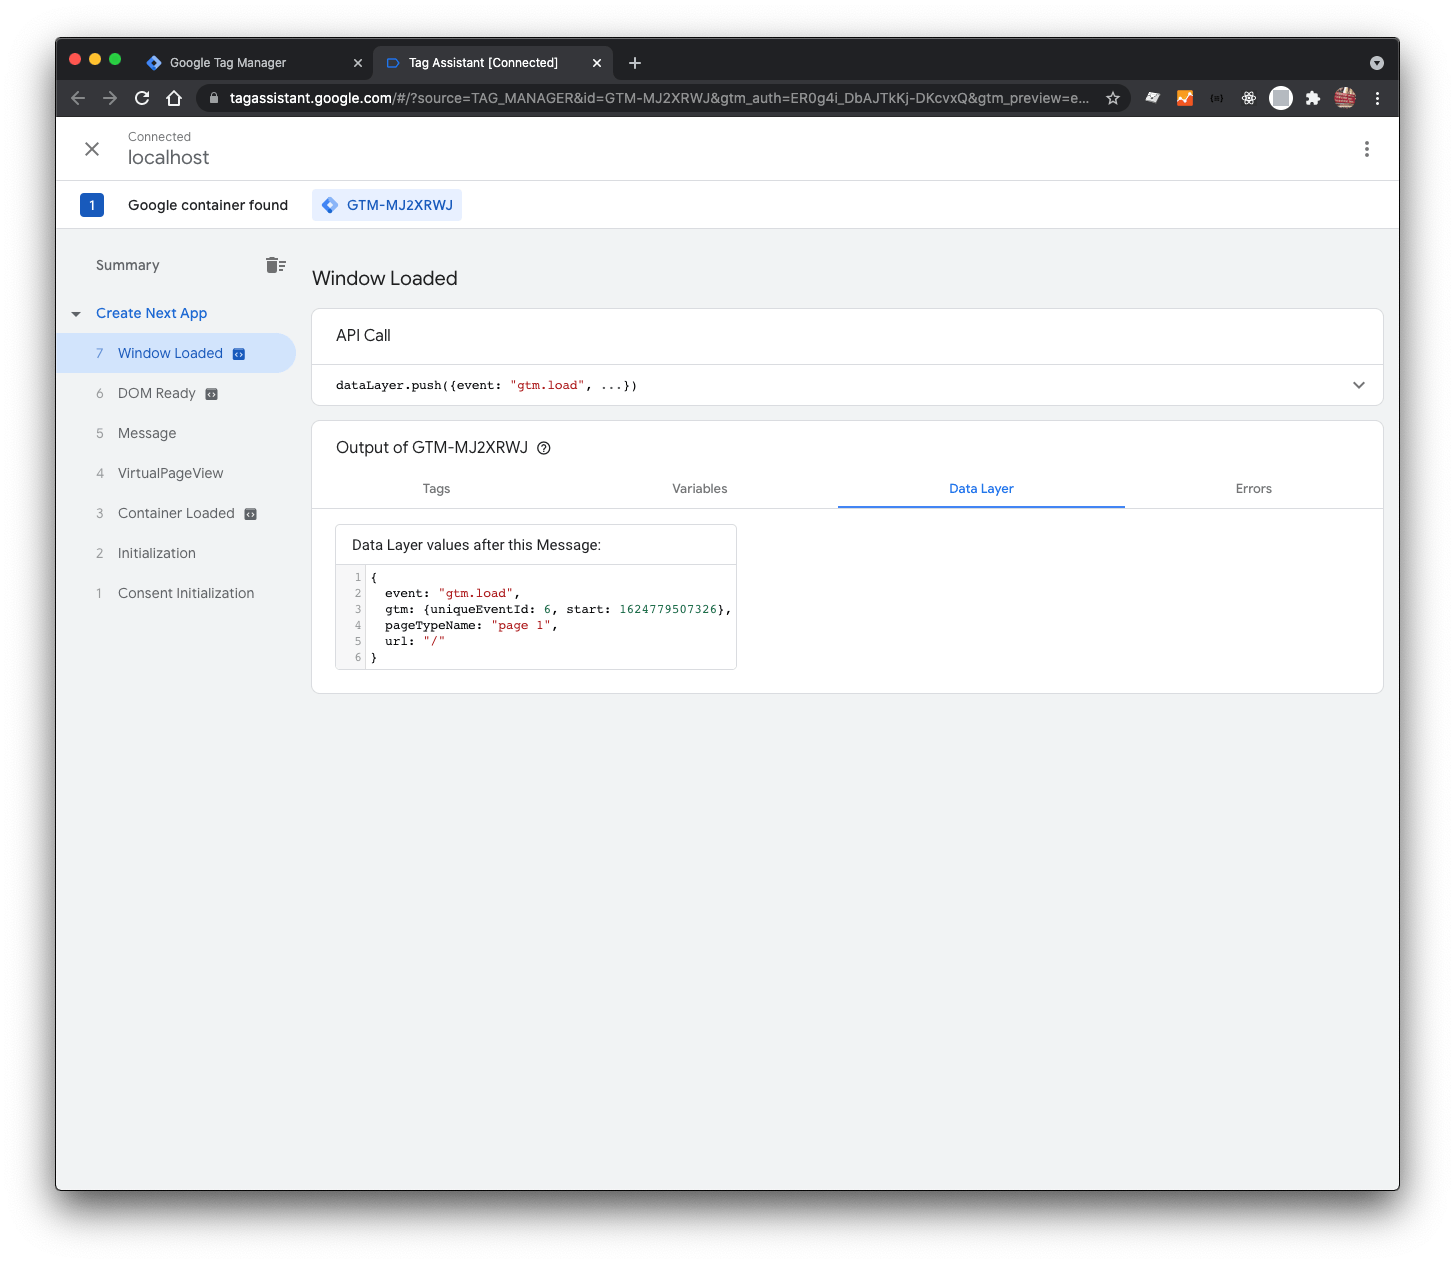
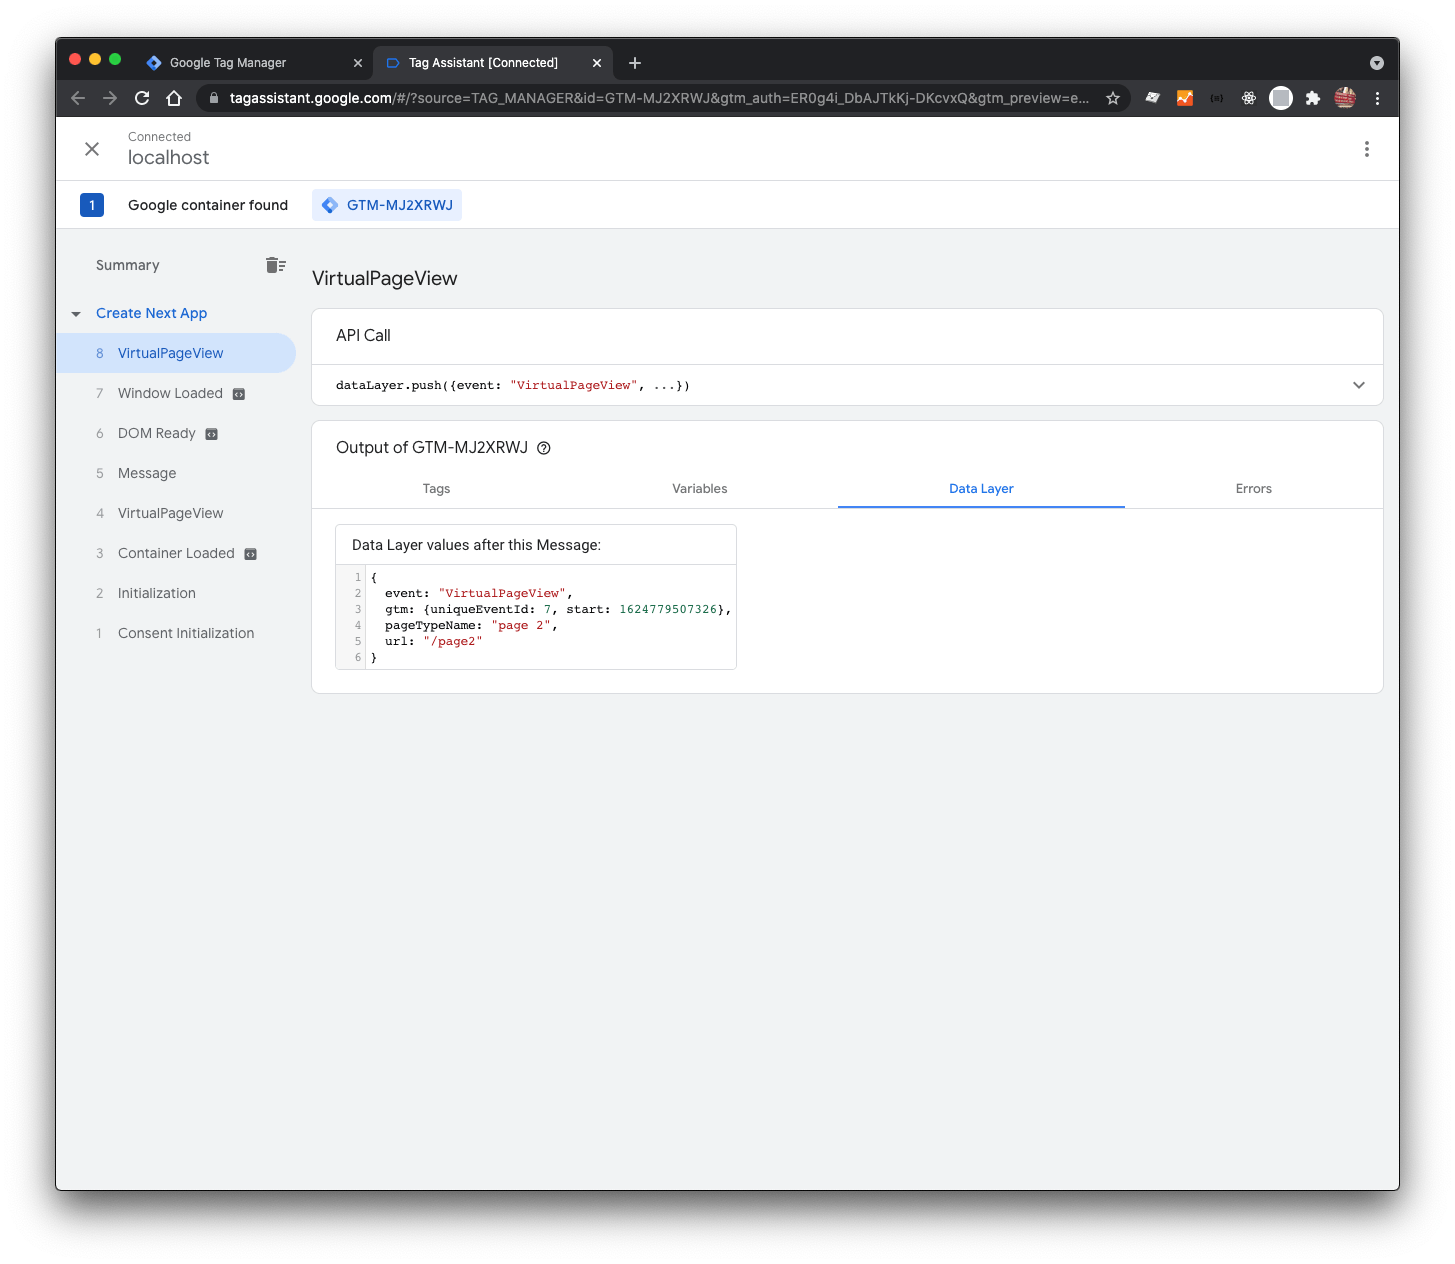
All the GTM examples kindly provided by Next.js focus solely on one thing, a url changing. The url is available to next/router, however when you want to push anything from pageProps into the dataLayer, that approach won't help.
I tested this out using console.log to see the order of events being fired, pageProps fires after router.events, so I added pageProps into the dependency array of the effect (Fig. 13).
What I want to do is watch for the pageProps changing, and then push the information into the dataLayer for tracking purposes, things like product titles, ecommerce objects, and more.
As I fetch data on a page-by-page basis, pageProps provides a global way to handle passing that data.
I created a function called gtmPageView (catchy I know) with a single purpose, to push data as part of an event type called page_view.
export const gtmPageView = (rest) => {
  window.dataLayer?.push({
    event: "page_view",
    url: window.location.href,
    ...rest,
  });
};export default function Page2() {
return <h1>Hello world!</h1>;
}
export async function getServerSideProps() {
return {
props: { slug: "page 2" }, // is passed up to the custom app as pageProps
};
}import { useEffect } from "react";
import { gtmPageView } from "@/lib/gtm";
export default function App({ Component, pageProps }) {
useEffect(() => {
const props = {
page_title: pageProps.slug || null,
};
gtmPageView(props);
}, [pageProps]);
return (
<>
<Component {...pageProps} />
<GoogleTagManager gtmId={GTM_ID} />
</>
);
}This approach works well if you want a central place to manage page_view events, but depends on pageProps.
It's the most reliable way that I've found to track page_view events with the Pages router.
If you want more flexibility, then maybe give the App router a try.
Get the full code
The full code is available here, it's completely free.
Video walkthrough
In the video I connect to a container through Tag Assistant, fire events into window.dataLayer and show how the events can be viewed.
Conclusion
There's not a lot of code to write to create an initial setup; the biggest challenge is understanding how it all fits together in a practical sense, and getting your head around GTM and Analytics, which requires investigation.
If you have any suggestions as to how the examples can be made clearer, easier to understand, or how I can add any missing use-cases you feel would help others, I'd love nothing more than to hear from you! Reach out to me on Twitter, or shoot me an email.
Written by Morgan Feeney
I’ve been designing and developing for almost 2 decades.
Read about me, and my work.
For juicy tips and exclusive content, subscribe to my FREE newsletter.
